Decluttering
Room-by-Room Decluttering Checklist: Where to Start in Every Room
Use this practical room-by-room decluttering checklist to decide where to start in the entryway, living room, kitchen, bedroom, wardrobe and bathroom — without turning one small job into an all-day project.
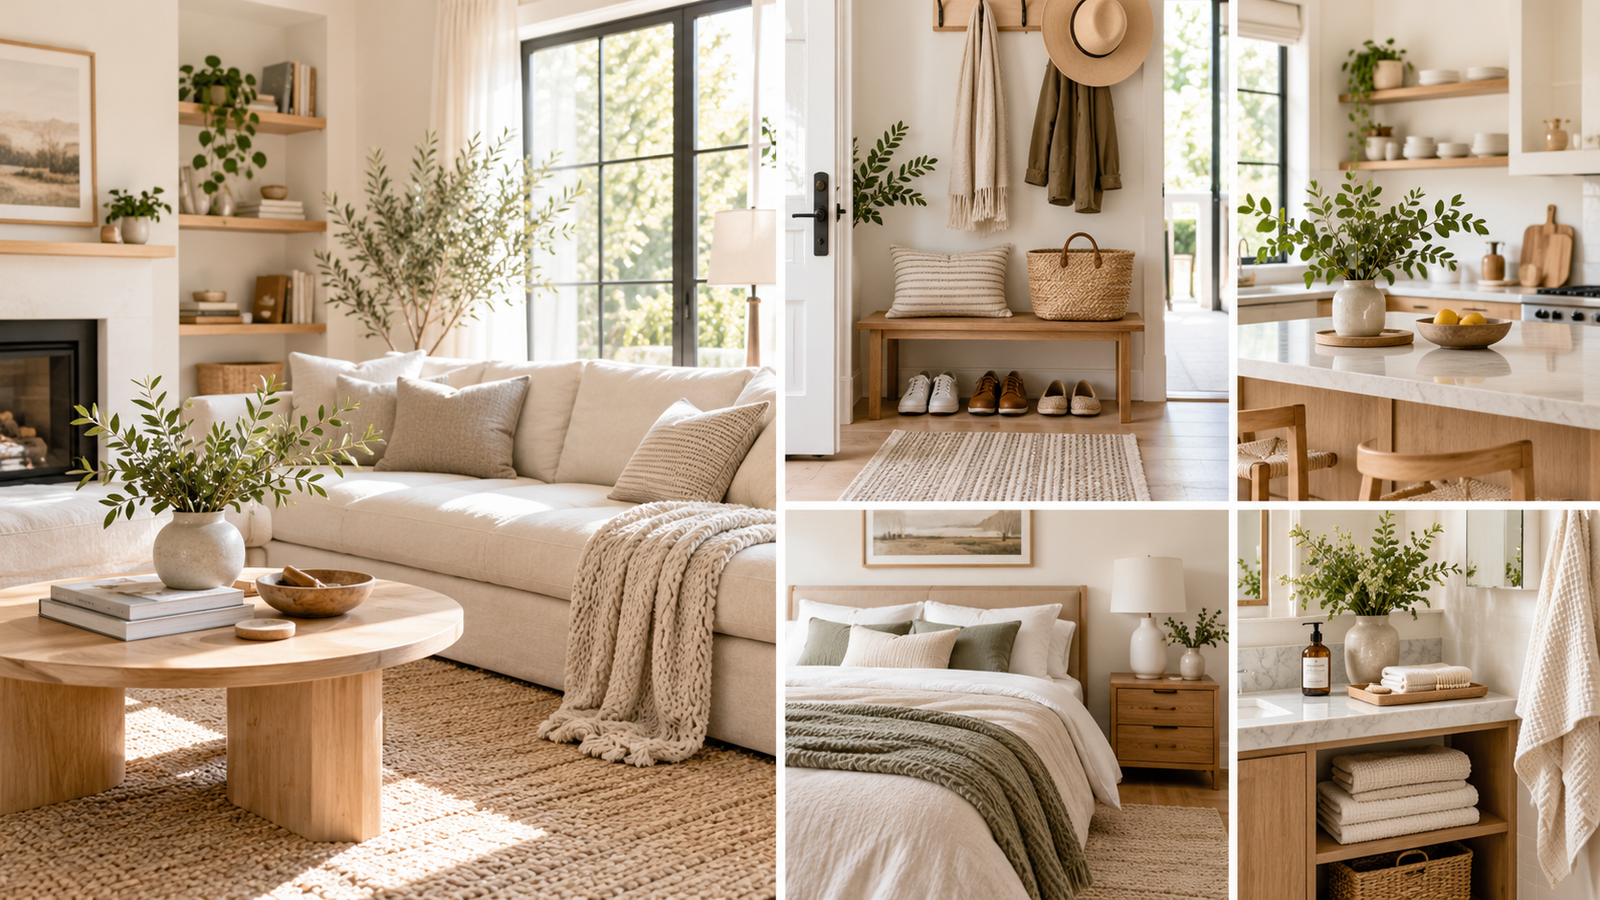
When several rooms feel cluttered, it is easy to make the task much bigger than it needs to be.
You look at the entryway and notice the shoes. Then the living room reminds you about the coffee table. The kitchen counter is crowded. The bedroom chair has become a temporary wardrobe. By the time you have mentally toured the whole house, decluttering already feels exhausting.
A room-by-room decluttering checklist works best when it does not ask you to finish every room.
Instead, give each room one useful starting point and one clear finish line.
Before you start, choose the room by relief
Do not automatically begin with the room that looks worst.
Start with the space where less clutter would make everyday life noticeably easier.
That might be:
- an entryway that makes leaving the house frustrating
- a kitchen counter you cannot easily prepare food on
- a bedroom floor that makes getting ready harder
- a living room where there is nowhere comfortable to sit
- a bathroom sink covered in products
- a wardrobe that makes getting dressed take too long
If choosing the first area is the part that keeps stopping you, use this guide to decide what to declutter first.
Then choose a small boundary inside that room.
One surface, one seat, one clothing category or one section of floor is enough.
Use four simple destinations
Before you begin moving things around, decide where items can go.
Most objects need one of four destinations:
- Keep here — you use or value it and this is where it belongs
- Move elsewhere — you use or value it, but it belongs in another specific place
- Donate or sell — it is usable, but you no longer need to store it
- Discard or recycle — it is broken, expired, incomplete or no longer usable
This prevents decluttering from becoming a collection of new piles.
If you tend to get stuck deciding whether something should stay or go, use a clearer keep, donate or discard decision process.
Entryway decluttering checklist
The entryway should make arriving and leaving easier.
You do not need to reorganize every coat, bag and pair of shoes at once.
Start with the floor and the items you reach for most often.
Start here
- Remove rubbish, receipts and empty packaging.
- Move seasonal or rarely used shoes elsewhere.
- Hang or store coats and bags you are not using this week.
- Give keys, passes and sunglasses one reliable landing place.
- Put returns or donations together near the exit.
- Clear one small surface.
Finish line
You can walk through the entryway easily and find the essentials you normally need when leaving.
If items repeatedly get dropped by the door, that usually means they need an easier home rather than a more complicated storage system.
Living room decluttering checklist
The living room usually serves several purposes at once: resting, watching television, talking, reading, playing or spending time together.
Start by protecting one of those functions.
Start here
- Clear one seat completely.
- Remove cups, plates and food packaging.
- Return blankets and cushions.
- Gather remote controls and chargers together.
- Move clothing and personal belongings out of the room.
- Reduce clutter from one visible surface.
Use a basket for objects that belong elsewhere rather than leaving the room every time you find one.
Finish line
At least one person can sit comfortably and use the nearest table or surface.
You do not need to style shelves or reorganize every decorative object for the room to feel noticeably calmer.
Kitchen decluttering checklist
In the kitchen, function matters more than appearance.
Before opening cupboards or reorganizing storage containers, create enough clear space to prepare the next meal or drink.
Start here
- Clear one food-preparation area.
- Remove obvious empty or expired items in sight.
- Load, stack or soak dishes.
- Return ingredients to their usual places.
- Group items that are normally used together.
- Move rarely used appliances away from your main working area.
Then wipe the space you have cleared.
Finish line
You have one usable preparation area.
That is enough for this session.
Do not let a crowded counter pull you into reorganizing every cupboard. If the counter now works, the session has achieved something useful.
Bedroom decluttering checklist
The bedroom becomes harder to use when clothing, cups, books and miscellaneous items compete with rest.
Start with the route to the bed and the surface beside it.
Start here
- Remove cups, packaging and obvious rubbish.
- Put dirty clothing into the laundry.
- Return clothing you are keeping to its normal storage place.
- Move books, chargers and personal items back to their homes.
- Clear the floor path.
- Deal with the items collecting on the chair.
- Leave only useful items on the bedside surface.
Finish line
You can reach the bed easily, and the bedside area contains only what you actually need there.
A calm bedroom does not require every drawer to be organized.
Wardrobe decluttering checklist
The easiest way to make wardrobe decluttering overwhelming is to pull everything out at once.
Avoid that.
Choose one clothing category only.
For example:
- T-shirts
- trousers
- dresses
- underwear
- outerwear
Then work only with that category.
Start here
- Remove damaged items you realistically will not repair.
- Set aside clothing that no longer fits comfortably.
- Notice duplicates you repeatedly pass over.
- Move out-of-season pieces away from prime everyday space if needed.
- Group the items you are keeping together.
- Make a note of genuine wardrobe gaps instead of shopping while you declutter.
Finish line
One clothing category is easier to see, choose from and return to storage.
You do not need to complete the entire wardrobe today.
Bathroom decluttering checklist
Bathrooms often become crowded with half-used products, empty packaging and backups competing with the things you use every day.
Start with the sink area.
Start here
- Remove empty packaging.
- Discard products that are clearly expired or unusable.
- Group the products you use every day.
- Move occasional-use items away from the most convenient space.
- Reduce duplicate open bottles where possible.
- Put medicines and first-aid items in their designated place.
- Wipe one newly cleared shelf, drawer or surface.
Finish line
Your everyday products are easy to find and the sink area is usable.
Backups can stay, but they should have a defined home so you can find them before buying more.
Do not empty the whole room
One of the most common decluttering mistakes is turning a contained task into an open-room project.
You start with a drawer, empty the cupboard beside it, notice another category and suddenly the room is worse than when you began.
A smaller finished session is more useful than a large unfinished one.
Try to keep the boundary visible:
- one drawer
- one shelf
- one surface
- one chair
- one metre of floor
- one clothing category
- one small cupboard
When that boundary is finished, close the session.
If the whole process tends to become too much once you begin, this approach to decluttering without getting overwhelmed will help you keep the task contained.
What to do with difficult items
Do not let one emotionally complicated or uncertain item stop the entire room.
If something requires a long internal debate, set it aside temporarily and continue with easier decisions.
Useful questions include:
- Do I actually use this?
- Would I notice if it disappeared?
- Would I choose it again today?
- Does it have a clear home?
- Am I keeping it because I want it, or because deciding feels uncomfortable?
Sentimental items deserve their own session.
So do large paperwork piles, complicated repairs and categories that require another person's input.
Decluttering becomes easier when every session does not have to solve every kind of decision.
Make sure outgoing items actually leave
A donation bag sitting in the corner is still taking up space.
At the end of a decluttering session:
- put rubbish and recycling where they will actually be removed
- place donations together
- choose a realistic donation destination
- put returns near the exit
- set a deadline for items you plan to sell
If selling something will require weeks of photographs, messages and continued storage, consider whether the likely return is worth the extra work.
The decluttering process is not fully closed until outgoing items have a next step.
A simple order if you want to work through the whole home
You do not need to complete all six rooms in one day.
Try one small session at a time.
A practical order is:
- Entryway — make arriving and leaving easier.
- Living room — restore one comfortable seat.
- Kitchen — clear one food-preparation area.
- Bedroom — clear the path and bedside surface.
- Bathroom — remove empties and group daily products.
- Wardrobe — reduce one clothing category.
Then repeat whichever room gave you the most noticeable relief.
The goal is not to create a streak or complete a perfect whole-home makeover.
It is to make everyday spaces progressively easier to use.
Quick room-by-room decluttering checklist
When you need the shortest version, use these finish lines:
- Entryway: clear the floor and create one landing place.
- Living room: clear one seat and the nearest surface.
- Kitchen: clear one preparation area.
- Bedroom: clear the path to the bed and the bedside surface.
- Bathroom: remove empties and group daily-use products.
- Wardrobe: declutter one clothing category only.
Choose one.
Finish it.
Put outgoing items where they can actually leave the house.
Then stop before a manageable task becomes another unfinished project.